
FIX A NAIL HOLE
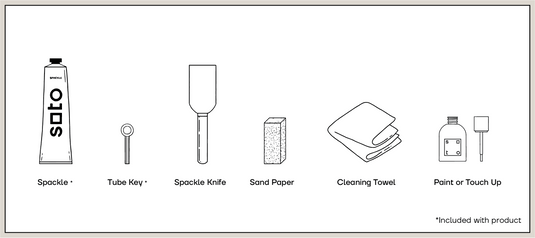
Instructions to repair nail holes or other similar small defects in your wall, using our Lightweight Spackle (available in 5 colors, in a 4-ounce tube or an 8-ounce tub) or our Small Hole Wall Repair Kit (also available in 5 colors, and contains everything you need to repair small holes).
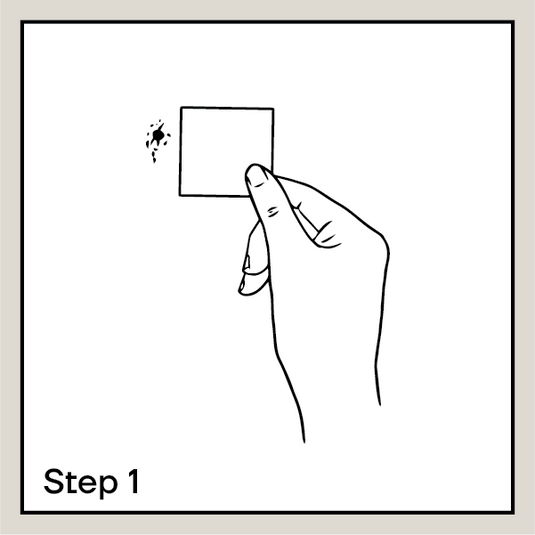
Step 1
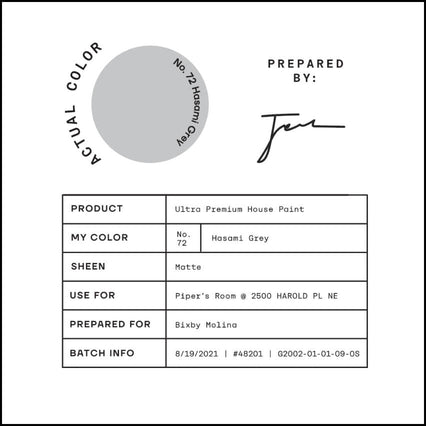
Ensure you have the right color by ordering a color chart at getsoto.com/colorchart.
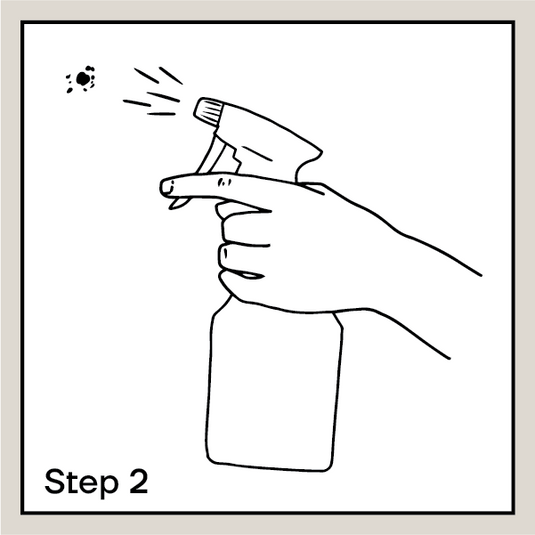
Step 2
Clean surface with mild detergent or our Multi-Surface Spray Cleaner to remove dirt, dust, grease, oil and loose paint.*
* WARNING: If you scrape, sand or remove old paint (pre-1978 homes), you may release lead dust. LEAD IS TOXIC. Contact the National Lead Information Hot Line at 1-800-424-LEAD, or log on to www.epa.gov/lead for more info. Keep out of reach of children. Includes acrylic resin. Not for internal consumption. If ingested, do not induce vomiting. Contact medical support.
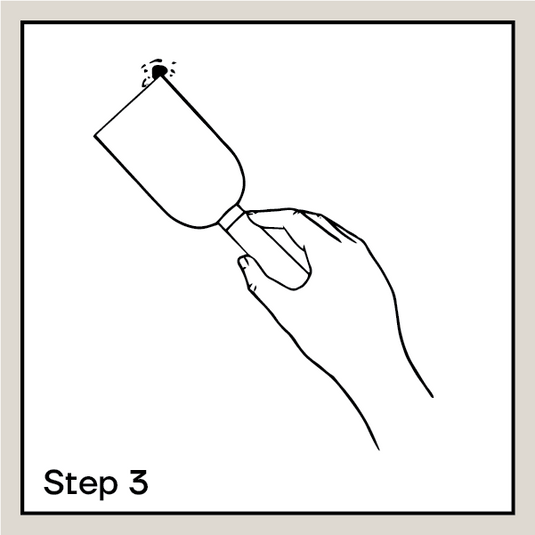
Step 3
Use Putty Knife blade or pocket knife to cut away any frayed edges.
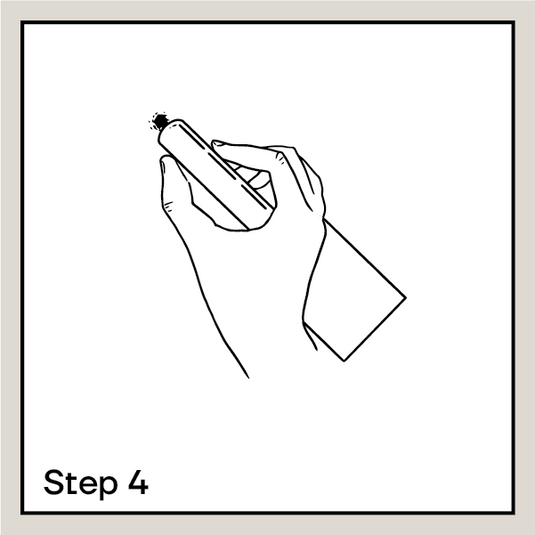
Step 4 (Important!)
Pound edges of hole with a blunt object so they sit slightly lower than wall. This is a very important step to ensure the repair is flush with the wall or surface.
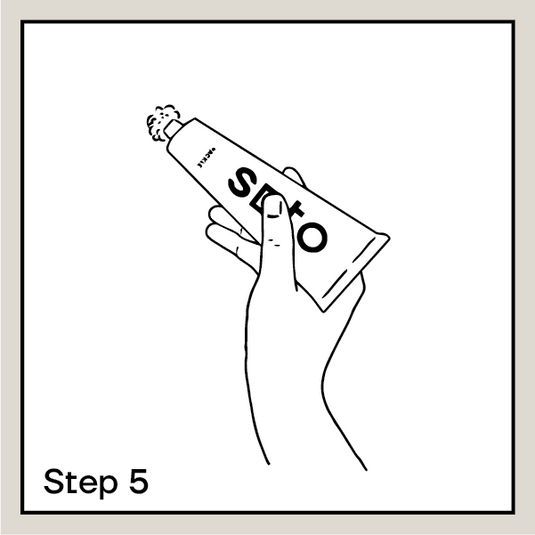
Step 5
Squirt spackle directly into hole until it is overfilled.
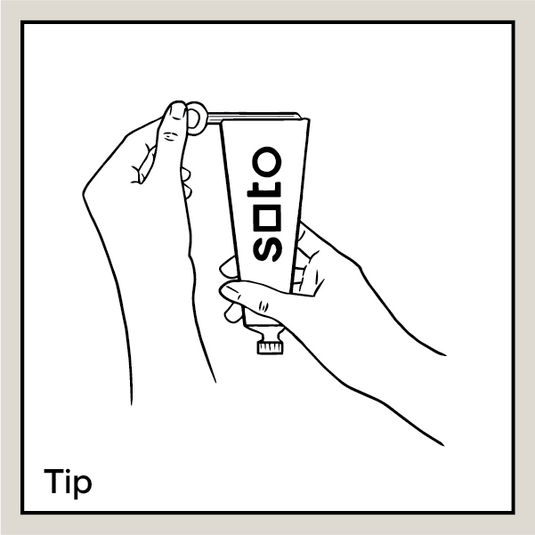
TIP
To help push spackle out of tube, use included tube key.
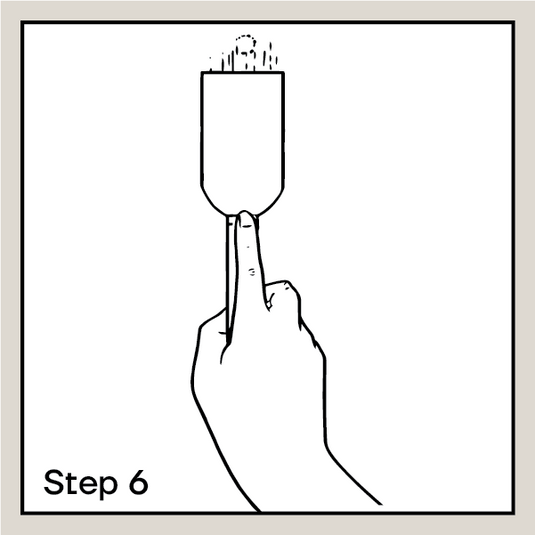
Step 6
Use Putty Knife to scrape excess spackle from hole so it levels with surrounding surface. Dry for 30 minutes.
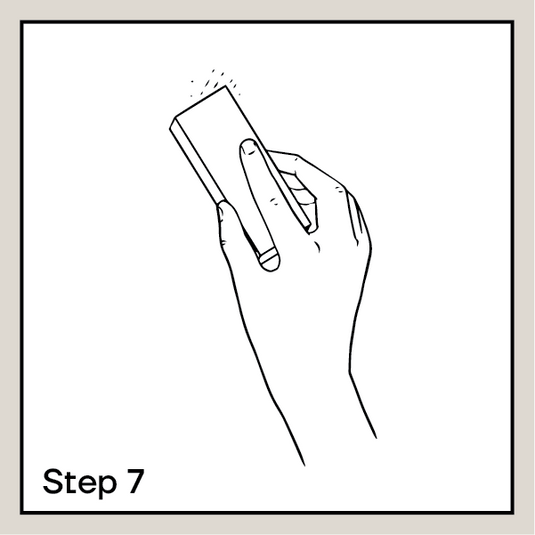
Step 7
Once dry, lightly sand surface with Sandpaper to level with wall or surface.
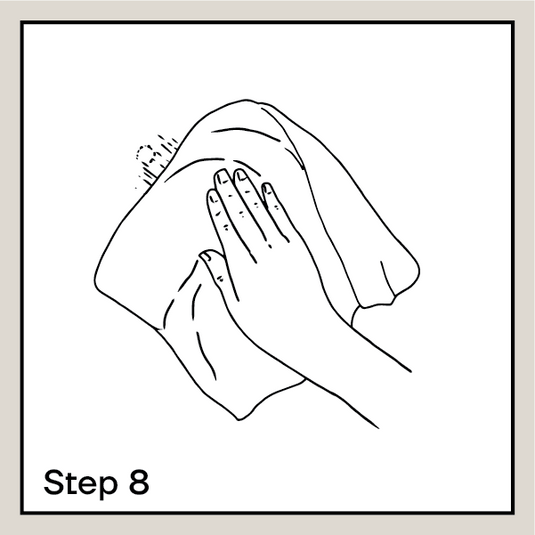

Step 8 (Optional)
Using a damp cloth (such as our Disposable Cotton Towels, one is included in the Wall Repair Kits), gently wipe away any excess spackle surrounding the hole. This will help blend the repair into the surrounding surface if you are not painting it.
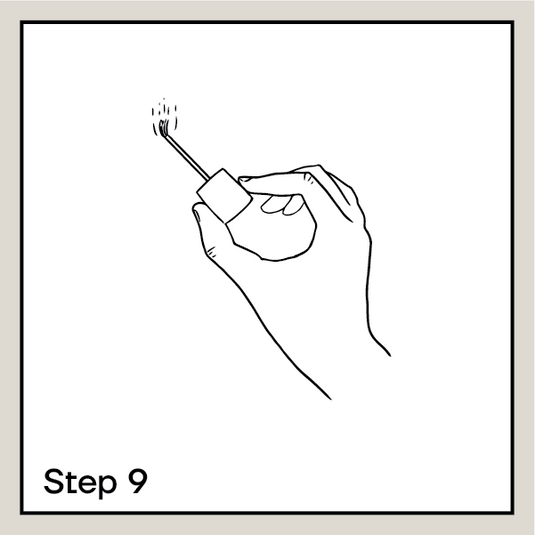
Step 9 (Optional)
Paint over patched area with paint that matches your wall, while feathering it into existing painted surface, or paint your entire wall with a completely new color. Check out the 24 diverse tones of our Multi-Surface Touch Ups for smaller repairs or our All in One Premium House Paint that works on any surface, inside and outside.
Step 10
Clean up immediately with soap and water. Wipe tools dry and store in original packaging in cool/dry place.